Course Details
"What settings should I use?"
If I had a nickel for every time I've heard that question, I could probably retire from photography. The thing is, there's no universal answer because light changes constantly, subjects move unpredictably, and every situation asks something different from your camera.
This course transforms you from someone who asks "what settings?" to someone who confidently reads any situation and chooses the best exposure strategy. Instead of memorizing recipes that only work in perfect conditions, you'll develop the judgment to handle whatever lighting throws at you.
In this class, you'll begin developing:
- Skills for reading light like a photographer and understanding how different qualities of light require different approaches
- Confidence using histograms as your exposure compass, not just pretty graphs
- Quick, informed decisions about aperture, shutter speed, and ISO based on what the scene actually needs
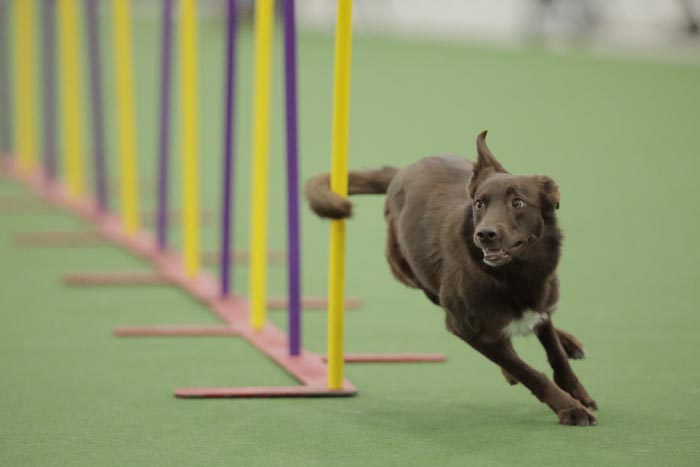
- Strategies for challenging situations like mixed lighting, high contrast, and rapidly changing conditions
- The intuition to anticipate exposure needs before you even lift your camera
What makes this course different: I don't give you a list of "sunset settings" or "indoor portrait settings" that fall apart the moment conditions change. Instead, I teach you to think like light itself—to understand how it behaves, how your camera captures it, and how to make technical choices that serve your creative vision. You'll learn the "why" behind every exposure decision, building skills that adapt to any situation you encounter.
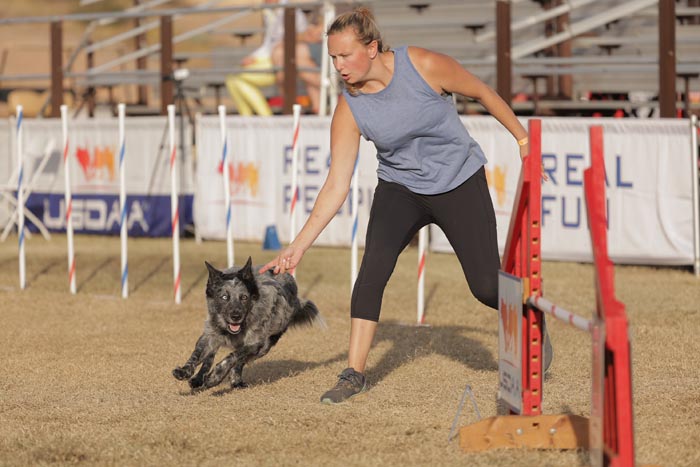
This isn't about perfect exposure myths or following rigid rules. It's about developing confident, flexible judgment that works whether you're shooting a backyard barbecue or a championship agility run.
For experienced photographers: You'll refine your exposure strategy, eliminate guesswork from challenging lighting situations, and develop consistent decision-making processes that work across different subjects and environments.
For developing photographers: You'll transform your relationship with manual mode from anxiety-inducing to empowering, building the foundation for all your future photographic growth.
Designed for All Learning Styles:
This course welcomes all types of learners. I present each concept in multiple ways so you can develop expertise effectively:
- If you learn visually - you'll see before/after examples and real-time exposure demonstrations
- If you prefer systematic instruction - you'll receive clear decision-making frameworks and step-by-step strategies
- If you learn by doing - you'll practice with guided exercises that reinforce exposure concepts immediately
Each week includes one Skills Lab (designed for indoor practice with controlled lighting) and one Creative Lab (where you apply concepts to your own photographic interests, indoors or out). This structure builds your technical foundation while encouraging creative application.
Your camera's exposure system has been waiting for you to take control. Join Expose the Dog and experience the confidence of knowing how to choose your settings and why they work.
Prerequisites: Basic understanding of aperture, shutter speed, and ISO, plus some experience using manual exposure mode. Students who have completed Shoot the Dog, Chase the Dog, or equivalent experience are perfectly prepared for this course.
Teaching Approach
- Lectures are released 1-2 times a week, along with a corresponding assignment that follows the lecture material. Gold students can submit images for each assignment as directed, as well as additional submissions with revisions to your images based on instructor feedback.
- Some assignments include step-by-step instructions to follow to demonstrate that the student understands a skill. Some are more open-ended, leaving more of the choices for the student to make in how they complete the assignment.
- Lectures are primarily written, with supplementary videos from a variety of sources on YouTube. Some videos may have subtitles, but it varies depending on the source.
- This class will have a TA in the Facebook study group if it sells out at Gold.
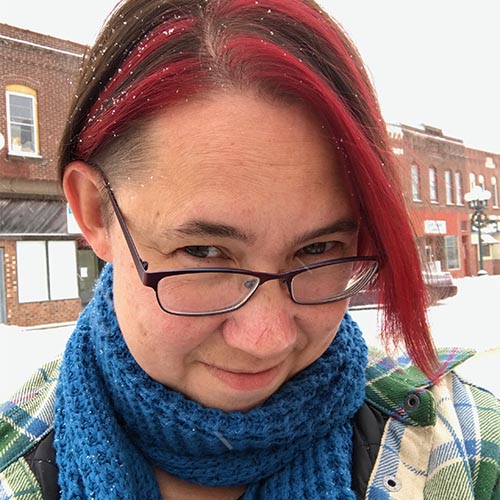 Instructor: Amy Johnson
Amy Johnson (she/her) is the official show photographer for many of the premier agility events in the United States, including the AKC National Agility Championships, AKC Agility Invitational, USDAA Cynosport World Games, UKI US Open, and NADAC Championships, as well as numerous local trials, regional events, and breed national specialties. She has photographed a wide variety of dog sports, including agility, obedience, rally, and conformation. (Click here for full bio and to view Amy's upcoming courses.)

