logo

  • Log In
  • Lectures
  • Homework Forum
  • Discussion Forum
  • About Us
  • Calendar
  • Faculty & Staff
  • instagram-icon
  • facebook-icon
  • twitter-icon
  • Courses
    • Schedule
    • By Discipline
    • By Instructor
    • Prerequisites
    • Self-Study
    • Scholarships
    • Gift Certificates
  • Webinars
    • Schedule
    • FAQ
  • Workshops
    • Schedule
    • FAQ
    • Gift Certificates
  • On Demand
    • Pet Dog Presentations
    • Pet Professionals Presentations
    • Self-Study Courses
  • Special Links
    • Podcast
    • Blog
    • Fenzi TEAM Titles
    • Trainer Certificates
    • Private Lessons
    • Other Free Stuff!
    • Swag
  • Conferences
    • CANIS Conference Registration - Attend In-Person
    • CANIS Conference Registration - Virtual Attendance
  • Contact
    • Course FAQ
    • Webinar FAQ
    • Workshop FAQ
    • Testimonials
    • Contact Help
  • Courses
    • Schedule
    • By Discipline
    • By Instructor
    • Prerequisites
    • Self-Study
    • Scholarships
    • Gift Certificates
  • Webinars
    • Schedule
    • FAQ
  • Workshops
    • Schedule
    • FAQ
    • Gift Certificates
  • On Demand
    • Pet Dog Presentations
    • Pet Professionals Presentations
    • Self-Study Courses
  • Special Links
    • Podcast
    • Blog
    • Fenzi TEAM Titles
    • Trainer Certificates
    • Private Lessons
    • Other Free Stuff!
    • Swag
  • Conferences
    • CANIS Conference Registration - Attend In-Person
    • CANIS Conference Registration - Virtual Attendance
  • Contact
    • Course FAQ
    • Webinar FAQ
    • Workshop FAQ
    • Testimonials
    • Contact Help

    Course Schedule

    First day of class:

    April 1, 2018

     Last day of class:

     Dec 15, 2018

    Enrollment begins:

    Nov 22, 2018

    Enrollment ends:

    Dec 15, 2018

    Tuition:

    $65-$260 / $49-$149

    Class length:

    6 weeks / 3 weeks

    New students: your account will be created automatically when you enroll in your first class.

       **Schedule Information Subject to Changes**

    • Agility
    • Behavior
    • Body, Health & Fitness
    • Electives
    • Foundations
    • Obedience
    • Other Dog Sports
    • Rally & Freestyle
    • Scent Sports
    • Prerequisite Classes
    • Workshops
    • Self-Study

    FF235: Dots: For Sports and Life

    Course Details

    Are you looking for a new approach to sport-related training? Or an outside-the-ring training task that you’ve been hoping to tackle from a different angle?

    Let me introduce you to…a dot! Such a simple training tool, but an oh-so-powerful one. (Think rubber exercise dots.)

    Dots are my current absolute favorite training tool to use for any training task—from sport-related behaviors or outside-the-ring training projects. Dots are a very easy to grasp concept for all dogs and build up value quickly. Dots themselves are also incredibly predictable and have an easy, clear structure. So, when applying them to sport or outside-the-ring-related behaviors, they automatically bring structure, precision, and clarity to any training task, while also easily standing in the place of a pre-set cookie or toy when needed.

    This makes dots incredibly versatile as well! Once your dog understands the basic concept of how to interact with a dot, the applications are endless! You can use them for precise position work, duration training, behavior-chain building, settling into new environments or building confidence in those environments, shaping targets in various sports, patience, new sports skills or building greater focus into existing skills—to name just a few things.

    This means dots are wonderful for both teaching new skills or modifying current behaviors that could use a new approach lens.

    And in this class, we will be tackling both! For the first two weeks, we will start by teaching your dog the basic foundation of what to do with a dot and then proof that basic understanding in different situations and environments, while also teaching many different basic ways that your dog can interact with a dot.

    From there, this class will become a choose your own dot adventure type of class! You will pick one or two of your own sport or outside-the-ring related behavior goals and together, we will come up with a training plan for how to apply dots to meet your goal!

    Every week there will both be general dot-related lectures as well as lectures tailored to each of your specific chosen tasks.

    And by the end of class, you will have a powerful new tool that you will feel confident applying to almost any sport or outside-the-ring training project!

    Teaching Approach:

    Lectures will be a mix of written instruction and video demonstration. The main lectures will be released at the start of each time, then additional lectures that are tailored to gold and silver students' chosen tasks will be released throughout the week/as they come up for each task.

    Feedback will be a mixture of written and video/voiceover instruction as applicable. Supplemental lectures and feedback will be tailored directly to the students as class goes on, so additional lectures will be added to the syllabus that are applicable to each gold and silver students' chosen tasks. This is largely a "choose your own adventure" type of course!
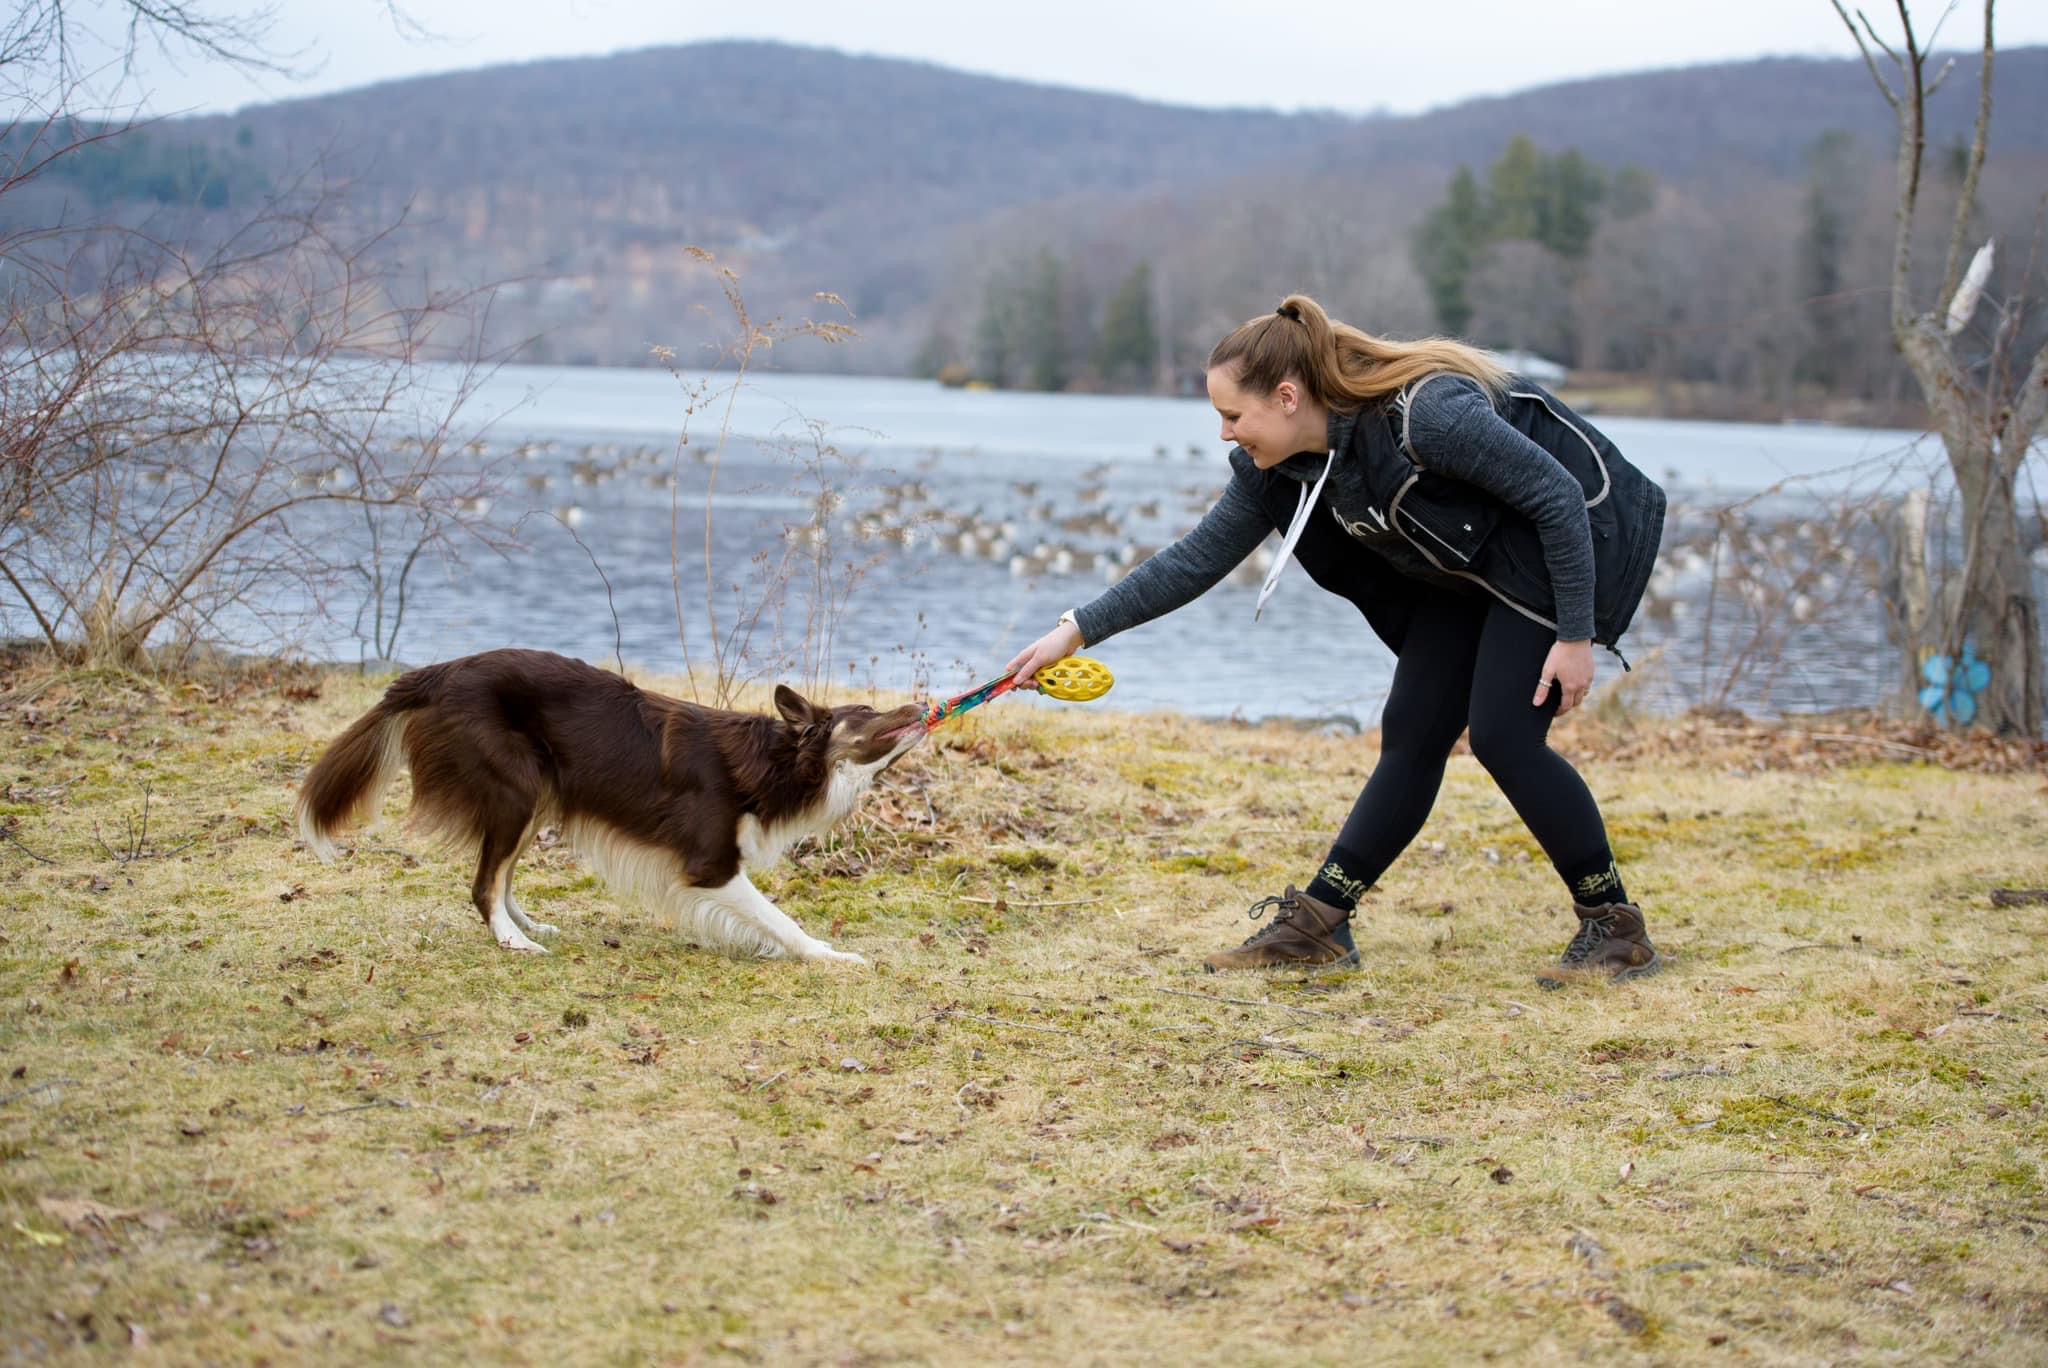
    Bronagh DalyInstructor: Bronagh Daly

    Bronagh Daly is a Certified Control Unleashed Instructor, Certified Family Dog Mediator, Certified One Mind Dogs Instructor, and a graduate of the Aggression in Dogs Master Course. She does not believe in one-size-fits all...(Click here for full bio and to view her upcoming classes)

    Syllabus

    View Full Syllabus

    WEEK ONE

    Dots foundation:

    • Teaching steps
    • Stimulus control
    • Magnetizing
    • Approaches
    • Handler position/motion
    • Duration


    WEEK TWO

    Dots out and about:

    • Neutral locations
    • Busy locations
    • Social distractions
    • Sport locations
    • Magnetizing with distractions
    • Duration with distractions

    Adapting to new environments

    Redirection

    Take a break

    Stimulus control – reinforcers and social

    Brain games


    WEEK THREE

    Setting the scene with dots

    How to adapt dots to different training tasks

    How to know when and where to apply dots

    Change the picture: dots off the ground

    Begin work on your first training task


    WEEK FOUR

    Problem solving with dots

    Teaching new skills with dots

    Begin work on your second training task

    Advancing first training task


    WEEK FIVE

    Creating behavior chains with dots

    Splitting complex tasks with dots

    Fading dots from first training task

    Advancing second training task


    WEEK SIX

    Fading dots from second training task

    Proofing both training tasks

    • Distractions
    • Environments
    • Behavior chains/in sequence
    • Other proofing will differ depending on task/sport


    Note: because this is a choose your own adventure type of class, lectures will be added throughout the class that will be directly written for the training tasks that gold and silver students choose to work on!


    Prerequisites and Equipment

    The most important thing for this class will be dots of course! Here’s a pack on Amazon that I like:

    https://www.amazon.com/dp/B0BSCWDS38?ref=ppx_yo2ov_dt_b_fed_asin_title&th=1

    They also sell them in a smaller size that I find to be useful as well:

    https://www.amazon.com/dp/B0BSCVYG35?ref=ppx_yo2ov_dt_b_fed_asin_title&th=1

    For this class, you may want to use dots of different shapes and sizes. It’s not required, but for some dogs, it can help with context to have slightly different looking dots for different tasks. Some examples:

    Stars: https://www.amazon.com/Unixing-Markers-Classroom-Preschool-Kindergarten/dp/B07W39XVPY/ref=sr_1_1?crid=1Y9ELZ5H6UPD0&dib=ehttps://www.amazon.com/Unixing-Markers-Classroom-Preschool-Kindergarten/dp/B07W39XVPY/ref=sr_1_1?th=1 

    Feet: https://www.amazon.com/Markers-Colorful-Sitting-Position-Stations/dp/B0B68MSWQV/ref=sr_1_1?

    For other equipment necessary, it depends on what you are going to focus on. Make sure you have any equipment that you need for your one or two training projects that you will pick. (These can be for any sport!) Then otherwise, we will be using basic foundation items like stations, mats, cones, toys, bowls, etc.)

    Sample Lecture

    More

    As we’ve discussed up until this point, dots are extremely flexible and a very important thing that we always need to do with dots before beginning a session is to set the scene of how we are going to use them. We’ve practiced this by setting up various manners of using the dots.

    So now let’s put that to the test by first setting the scene and then following through on teaching a whole new behavior!

    To do so, we are going to going to teach the behavior of backing up through your legs. If you have already taught this behavior, you can teach any other backing up behavior that you would like using the same method. The difference will just be that you will need to adjust your dot placement slightly. But this can be replicated for any backing up behavior. (You do not need backing up as a foundation for any of this if you have not yet taught it.)

    As we’ve discussed, we are going to begin by setting the stage of how we will be using our dots. So, let’s jump in!

    Setting the scene:

    For this training task, we will be utilizing two dots.

    • The first dot should be placed between your feet or just slightly ahead of your feet. The second dot should be placed about five or six inches away from the first dot, in line with the first dot.
    • Begin by verbally cueing your dog to go to the first dot.
    • When your dog gets to the first dot, reward your dog so that their back is to you.
      • You can do this by throwing a treat behind you and then luring your dog between your legs.
    • Feed your dog for targeting the first dot.
    • Now say dot again and immediately hold a cookie between your dog’s legs or off to the side of your dog to help lure them to step back to the dot between your feet.
    • Once you dog steps back to the dot between your feet, mark and place the cookie down on the dot.
    • Now your dot cue again and your dog should move ahead back to the further dot.
    • When they do, reward them on that dot.
    • Now say cue dot again, and once again, lure your dog with a cookie between their legs or off to their side to help them get them back to that dot between your feet.
    • When they teach the dot between your feet, mark and reward them on it.
    • Repeat this pattern, going back in fourth for three to five repetitions.

    Now that we have the basic criteria set, it’s time to start to really build the behavior! That should go as follows:


    Step one:

    • Begin exactly how we did in the set the scene session.
    • Once you have that behavior loop set, it’s time to start fading out the lure.
    • The way I like to do it is to start to insert the lure later and later over several repetitions. So, say dot as you normally would to cue the dot between your legs and initially have your hand there immediately. Then on after two repetitions of this, say dot and bring your hand in now a second later instead of immediately. That way your dog has a second to process what they should do before your hand comes in.
    • Continue working to delay your hand coming in by a second every other repetition, until you can have a good-sized delay between saying dot and your hand coming in.
    • By this point, you should start to see your dog at least looking towards the dot or weight shifting back toward sit and when you say your dot cue and before your hand lure comes in.
    • So now when you see these weight shifts or looks to the toy, you should mark and then bring the food in and reward on the dot.
      • You can still lure a bit if you need to here, but try to less and less as your work this stage.
    • Continue like this until your dog is starting to offer backing up to the dot on their own.
    • When they are, take your hand out of the picture completely and make sure that your dog can continue to replicate this.
    • If your dog is struggling at all with this, try placing the dots even further together so it’s a smaller transition moving from the further dot to the dot between your feet.


    Step two:

    • Now that your dog is backing up between the dots on their own with just your dot cues, it’s time to increase the distance.
      • I like to make sure that we have a really strong behavior of backing up and that your dog is comfortable doing so between your legs before we ever add in a verbal cue, so we’re going to wait until step three for that.
    • Begin the exact same way you ended in the previous step.
    • Then, as you are working, slowly start to move the further dot further and further out.
    • So, every other repetition, move the further dot an inch or two ahead as your dog is eating on the dot between your feet.
    • Then as soon as your dog has finished eating on the dot between your feet, verbally cue your dog to go to the further dot, then backwards to the dot between your legs as we were previously doing.
      • The rest of the pattern should look the same aside from the further dot moving further and further out, so your dog will always be moving forward to the dot away from you, then backwards to the dot between your feet.
    • Continue moving the dot ahead of you (so slowly that your dog barely notices that it is moving) until your dog is easily backing up about four steps to get between to the dot between your legs.
    • If at any point your dog starts to struggle with this, move the dot back to where they were successful and then move it back much more slowly over more repetitions or session to build their confidence back up.


    Step three:

    • Once your dog has gotten to the point of being able to back up between your legs, it’s time to insert a cue!
    • I like to do this with a simple cue transfer of saying your new cue followed by the dot cue.
      • I like to do the cue transfer this way because when your dog continually hears the dot cue right away after your new cue, your dog will start to anticipate moving back to the dot every time they hear the new cue almost right away.
    • To do the cue transfer, start with your dog on the further out dot with their back to you as you have been doing, then work the pattern from step two for at least two repetitions.
    • Once your dog is solid on the pattern, insert your new cue right before your dot cue.
      • For the video example, that cue is “scoot.”
      • That means it would sound like: “scoot, dot.”
      • The dot cue should follow the “scoot” cue as closely as possible, so your dog has no questions.
    • Work this with your newly inserted cue for at least three to five repetitions.
    • When you see your dog start to anticipate moving backwards on your new verbal cue instead of your dot cue, it’s time to start spacing out the cues.
    • Now instead of saying dot directly after “scoot” (or whatever cue your choose), have a small delay.
      • So that should sound like “scoot” pause “dot”.
    • Continue like this for another three to five repetitions.
    • When your dog starts visibly moving on “scoot” before you ever say dot, you can space the dot cue out even further so that you are waiting until your dog is actively backing up for a couple steps before you say dot.
    • And after three to five repetitions of successfully working this, start to delay saying your dot cue to when your dog is already all the way to the dot.
      • So say “scoot”, wait until your dog backs up to the dot, then say dot when they get there, and mark and move in to reward.
    • Work that for three to five repetitions until it is solid.
    • And finally, it’s time to stop saying dot entirely.
    • So instead of saying dot when your dog reaches it, just mark and reward them on the dot instead.

    Note: you do not have to do this entire step in one session and many dogs will work better if you split it up over several sessions!


    Step four:

    For this final step, we will be fading out the second dot.

    • Begin exactly as ended in step three.
    • Now, you are going to start moving the further dot out inch or two at a time to get you away from the dot between your feet.
    • Cue your dog to go to the further out dot.
    • Mark and reward when your dog gets to that dot.
    • As your dog is eating off of that dot, take a step forwards, away from the dot between your feet.
    • After your dog is finished eating off of the further dot, cue them to “scoot”.
    • Your dog should back up between your legs and likely get all the way to the dot that is now a bit behind you.
    • When they do, mark and reward on the dot.
    • As your dog is eating off of the dot, move your further dot up and couple of inches.
    • Cue your dog to go to the further dot.
    • Mark and reward when they target the further dot.
    • As your dog is eating off of the further dot, take a step forwards.
    • After your dog finishes eating, cue them to “scoot”.
    • Your dog should back up between your legs and this time when they do, mark and reward them on the ground ahead of your dot.
    • Continue doing this, rewarding them on the ground behind you.
    • After you’ve gotten far enough away from the dot that your dog isn’t noticing it anymore, you can either continue to reward behind you on the ground, or you can reward your dog to mouth.
      • If you don’t care how far between your legs your dog backs up, rewarding to mouth is fine.
      • If you would prefer your dog to back as far as possible between your dog, keep rewarding to the ground or tossing the reward back behind you as needed.
    • By this point, you should be able to remove the dot behind you without any issues!


    And that’s it! Your dog should now be easily backing up between your legs without the help from the dot.

    If you want to take this a step further, you can also teach your dog to spin so their back is facing you on the first dot, and then back up between your legs. But for the sake of this initial learning stage of setting up the dots and then teaching something new with them using that specific dot picture, we’re going to end the behavior here.

    Remember, keep sessions short and successful here! And if you ever run into trouble, don’t be afraid to go back a step and split things down much more finely before continuing.

    Testimonials & Reviews

    Read All Testimonials

    New class!

    Registration

    Next session starts: August 1, 2026
    Registration starts: July 22, 2026
    Registration ends: August 15, 2026

    Registration opens at 11:00am Pacific Time.

    FF235 Subscriptions


    Gold

    Silver

    Bronze
    Tuition $ 260.00 $ 130.00 $ 65.00
    Enrollment Limits 12 25 Unlimited
    Access all course lectures and materials ✔ ✔ ✔
    Access to discussion and homework forums ✔ ✔ ✔
    Read all posted questions and answers ✔ ✔ ✔
    Watch all posted videos ✔ ✔ ✔
    Post general questions to Discussion forum ✔ ✔ ✖
    Submit written assignments ✔ ✖ ✖
    Post dog specific questions ✔ With video only ✖
    Post videos ✔ 1 per week ✖
    Receive instructor feedback on
    • Questions
    • All videos
    • Questions
    • All videos
    ✖

    Find more details, refund policies and answers to common questions in the Help center.

    • Prev
    • Next
    • FDSA
      • About Us
      • What Do We Teach?
      • Faculty & Staff
      • Testimonials
      • Privacy Policy
    • Student Resources
      • Calendar
      • Scholarships
      • Gift Certificates
      • Swag
      • Trainer Certificates
    • Courses
      • Class Schedules
      • By Instructor
      • By Discipline
      • Prerequisites
      • Self Study
    • Webinars
      • Schedule
      • Webinar Courses
      • Register
    • More Learning
      • Podcast
      • Blog
      • Puppy Book
      • Private Lessons
      • Team
    • Help!
      • Getting Started
      • Enrolled Students
      • Video & Images
      • Webinars

    Copyright © Fenzi Dog Sports Academy and individual instructors.

    Technical support - send email to [email protected]

    Connect with us! facebook-icon email-icon instagram-icon